Lay out a frame in a row or a column
You get a frame that places its contents in a row or a column for you, so they stay in order as you add, remove and resize them.
Draw the frame and its shapes first: see Draw screens and shapes on a prototype.
Turn it on
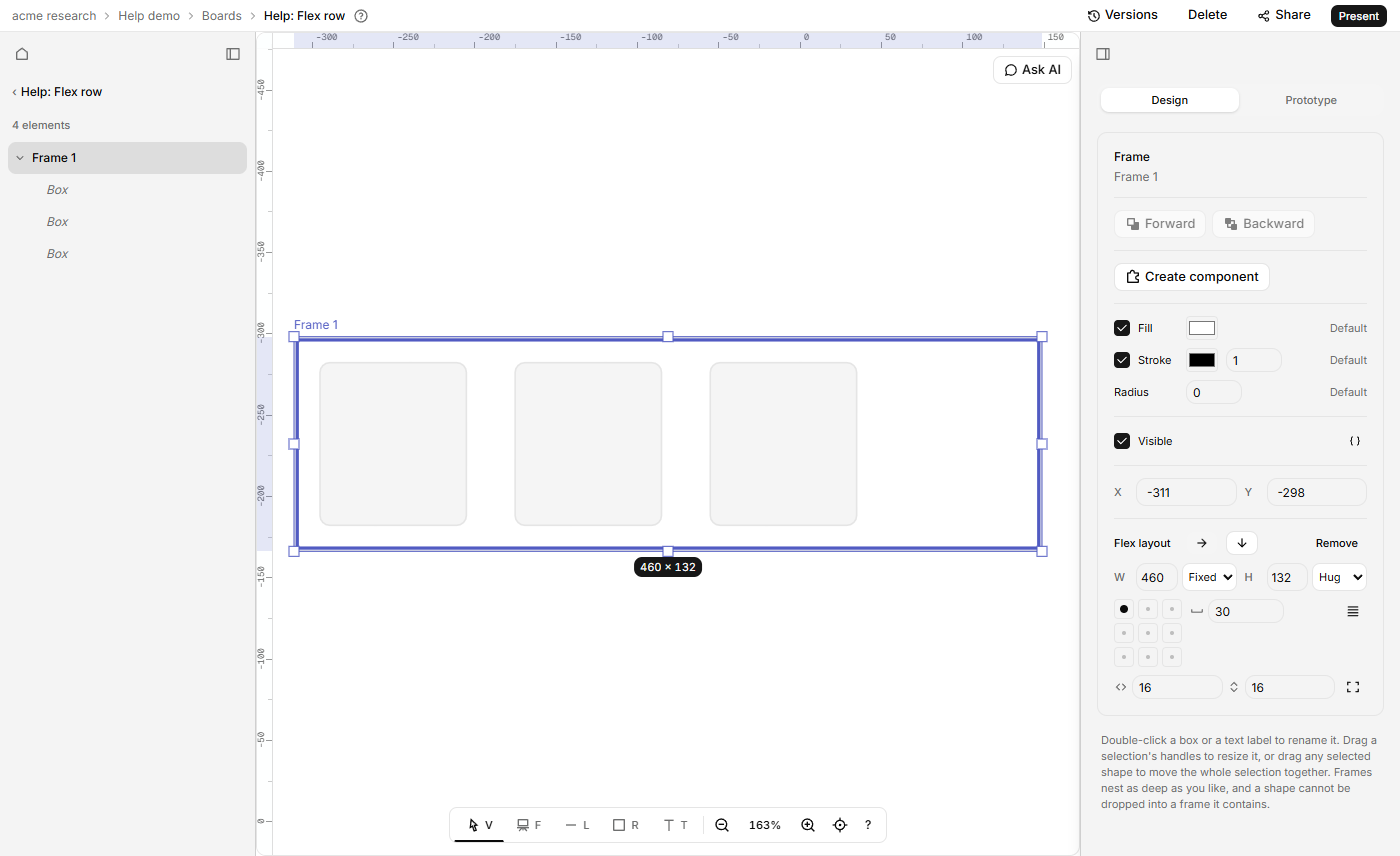
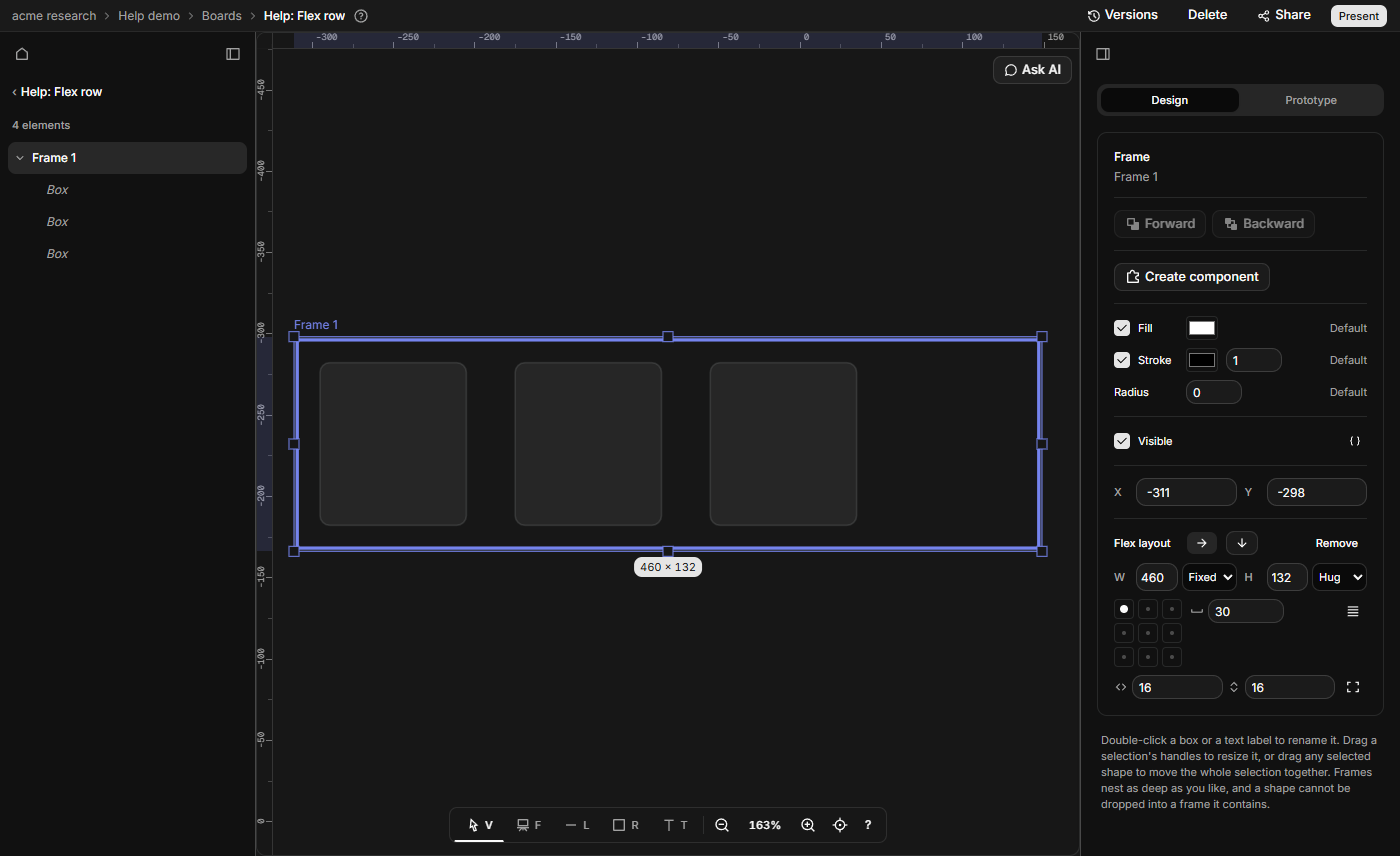
- Select the frame, on its own. In the Design tab, find Flex layout and click Add. Or press Shift+A, or right-click and choose Make flex frame. It picks a direction from how the shapes were spread, keeps them in reading order, and sets a gap from their spacing, padding 16, and a height that hugs.
- Choose the direction. The two buttons are icon-only: a right arrow for Row, a down arrow for Column.
- Set the size on the first row (W and H, each with a dropdown: see below), then the alignment grid for where the shapes sit, with the gap field beside it. Below them is the padding, across then down; the button at the end of that row sets each side apart, and pressing it again puts the pair back once opposite sides match. Padding and gap go from 0 to 256 and save on Enter, when you click away, or when you let go of a drag. Drag sideways from a number field's left edge or its letter to change it; Shift moves 10 at a time.
Select several shapes that share one frame and press Shift+A (or choose Make flex frame) to put them in a new flex frame. The new frame has no fill or stroke; tick Fill or Stroke in Design to give it some. A lone component set shows "A component set lays out its own components." and changes nothing.
Auto gap. Click Auto gap, beside the gap field, and the shapes spread out: the first sits at the start padding, the last ends at the far padding, and the space between them is equal. The gap field then shows Auto. Shapes that Fill take the spare room first, so nothing is left to spread and the space is 0. If the frame hugs along its direction there is no spare room, so pressing Auto gap sets that side to Fixed at its drawn size, and one undo puts both back. Press the button again to go back to the number you had.
Padding shorthand. Padding fields take one to four numbers, as in CSS. One number sets that field's own side or pair. Two to four numbers, in CSS order, set all four sides. '8 16' is top and bottom 8, left and right 16. '8 16 24' is top 8, sides 16, bottom 24. '4 8 12 16' is top, right, bottom, left. Separate them with spaces or commas. A single number applies as you type. Two to four apply on Enter or when you click away, as one undo step, and the fields change to match. Text that starts with a valid number has already painted that number as you type, and Enter keeps it. Text that is not a number, or has more than four numbers, is not applied as a shorthand. Press ↑ or ↓ in a field to step it by 1, or Shift+↑ / Shift+↓ for 10.
Under Auto gap, the alignment grid's choice along the direction of the frame has no effect when there are two or more shapes, because the gap decides where they sit. The other choice, across the direction, still applies. One shape still goes where the grid says.
Reorder the shapes
A shape in a flex frame gets its position from the frame, so its X and Y are read-only.
- Drag it, and follow the line that shows where it will land.
- Or select it and press ← and → in a row, ↑ and ↓ in a column.
A shape drawn in lands last, and so does an Alt+drag copy. Dragging several shapes at once doesn't reorder.
Size a shape: Fixed, Hug or Fill
W and H each have a dropdown with Fixed first, then Hug and Fill, one side at a time. Hug shows only for a frame with a flex layout, and Fill only for a shape inside one. Where neither applies there is no dropdown, just the number.
- Fixed: the shape's own size.
- Hug: the frame shrinks to fit its contents on that side.
- Fill: across the frame's direction, the shape stretches to the frame's inside. Along it, Fill shapes share the room the others leave. Along a side the frame hugs, Fill does nothing.
Type a number in W or H on a Hug or Fill side to make that side Fixed at it. Press Enter or click away to apply. Drag any resize handle, and every Hug or Fill side of the shapes you are resizing becomes Fixed, at the size drawn.
Pin a shape: absolute position
A shape in a flex frame can leave the flow and stay where you put it.
- Select a shape inside a flex frame.
- Click Absolute position, beside X and Y. Nothing moves on screen. The shapes beside it close up.
- Drag it, or type X and Y. Both are editable again, and dragging shows no insertion line.
A pinned shape keeps its distance from the frame's top-left corner. The frame's Hug ignores it, so a badge hanging off a button's corner doesn't grow the button. The frame clips it at the frame's edge. A pinned shape can't Fill. An image can't be pinned. Click Absolute position again and the shape goes back to its slot.
Turn it off
Click Remove, press Alt+Shift+A (Option+Shift+A on a Mac), or right-click the frame and choose Remove flex layout. Every shape, and the frame, stays where it is drawn. A pinned shape stays where it is too, and is no longer marked as pinned.
If it doesn't work
- Fill does nothing along the frame's direction. A frame that hugs that way has no spare room to share. Set the frame to Fixed there.
- There is no Flex layout row. Select one frame, not a box, a group of shapes, an instance or a component's outline.
- Shift+A does nothing. Click the shapes on the canvas first: a text field that has focus keeps its keys. Selecting the frame in the Layers list works too. A selection needs one frame or shapes that share the same frame, and the select tool.