Draw screens and shapes on a prototype
You get a prototype board with screens, and the boxes, lines and text that sit on them.
If you haven't made a board yet, see Create a board. Once your shapes are down, see Select, arrange and undo on a prototype.
Ask for screens in the Ask AI panel (top right of the board, or Ctrl/Cmd+J). The draft adds screens beside what you have drawn, and leaves your own screens where they are. See Draft a board with AI.
Pick a tool
The bar at the bottom of the canvas has six tools, each an icon and its key letter: Select (V), Frame (F), Line (L), Box (R), Text (T) and Icon (I). Hold the pointer over one to see its name. Click a button, or press its key. The letters hide on a narrow canvas. The bar also holds the zoom controls, and a ? that opens the keyboard shortcuts sheet. The keys are listed on Keyboard shortcuts.
The armed tool is filled in. After each shape you draw, you are back on Select, and Esc takes you there at any time.
While Frame, Box, Text or Line is armed, the pointer over the canvas becomes a small +, and the normal pointer is hidden. The centre of the + is the exact point the shape starts at. The normal pointer comes back over the rulers, the bar and the panels, while you pan, and when you go back to Select. In a Windows contrast theme the + is not drawn and your own pointer stays.
Draw a screen
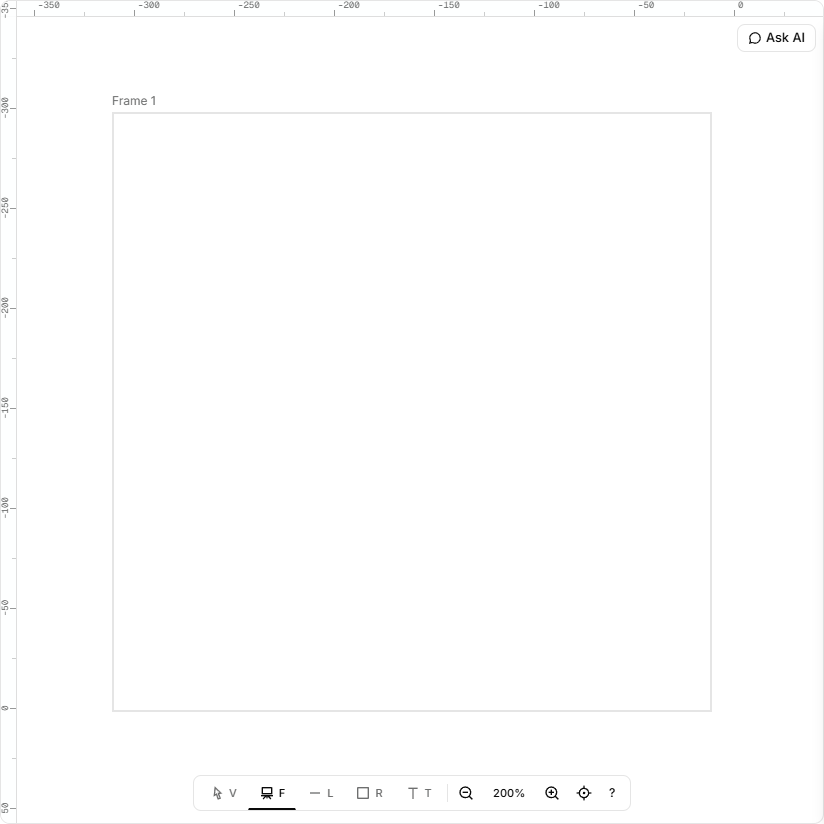
- Press F, or click the Frame button. An empty board says "Press F and drag to draw a frame."
- Drag on the canvas to set the size, or click once for a frame of the default size. A dashed outline shows the shape as you drag.
- Or pick a size from Frame sizes in the right-hand panel: Phone, Tablet or Desktop. The screen lands to the right of what is on the board, already selected.
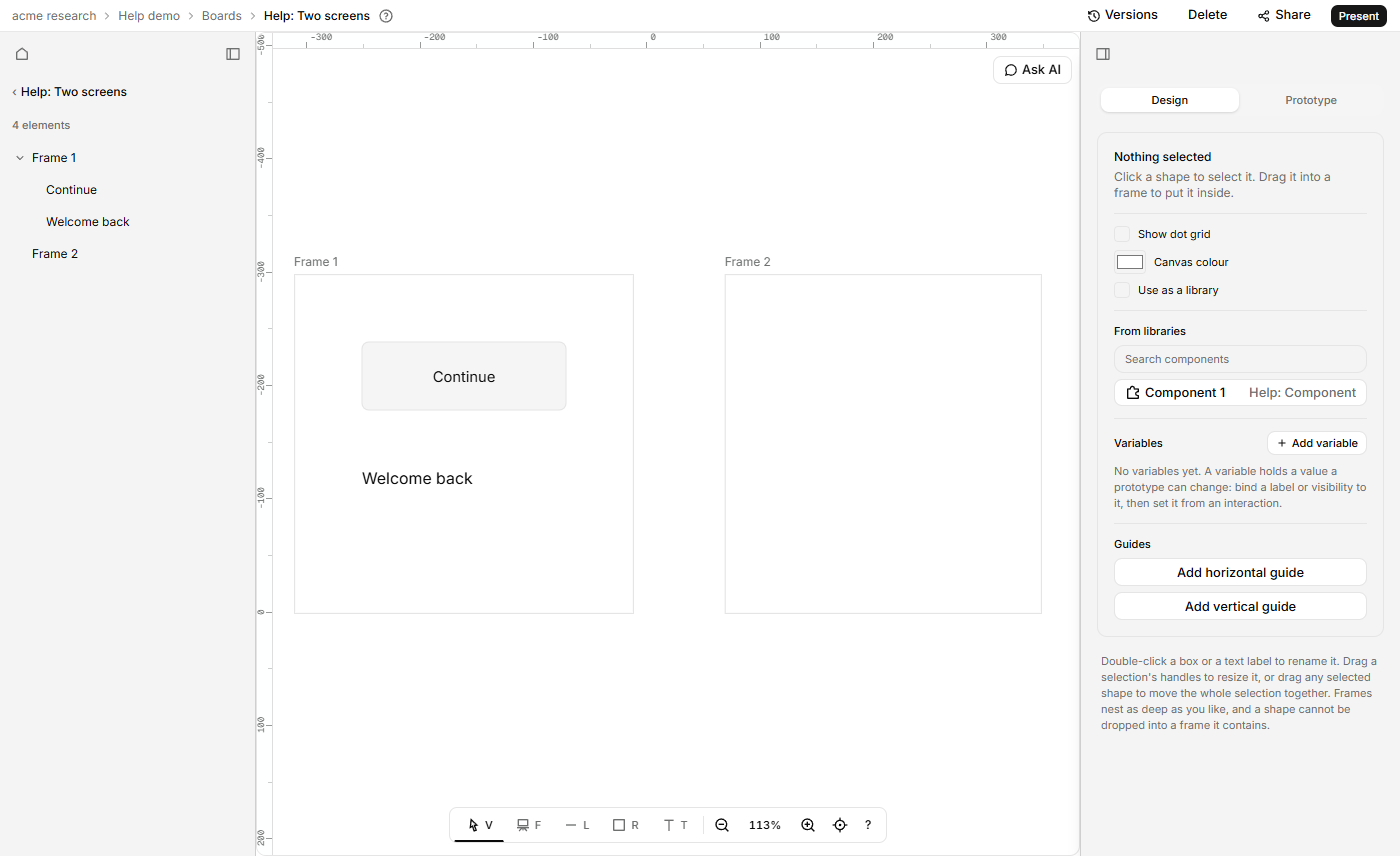
The frame is named "Frame 1", then "Frame 2", and so on. A picked size is named after it, "iPhone 16", then "iPhone 16 2". A frame at the top level of the board is a screen: it is what you link clicks to and what Present shows.
Draw inside a screen
- Press R, T or L.
- Drag inside the frame. A dashed outline shows the shape as you drag. A click without a drag gives a shape of the default size.
A line is horizontal or vertical, whichever way you dragged further. A shape drawn inside a frame belongs to it, so moving the frame moves the shape. To move an existing shape into a frame, drag it in. To take it out, select it first (in the layers list, or by double-clicking down to it), then drag it clear. Frames nest as deep as you like, and a shape can't be dropped into a frame it contains.
A frame can also lay its contents out in a row or a column: see Lay out a frame in a row or a column.
Add an icon
- Press I, or click the Icon button. The right-hand panel shows the icon picker.
- Type in Search icons to narrow the 64 icons, and click one. It stays chosen for your next clicks.
- Click the canvas for a 24 × 24 icon, or drag to set its size. Drop on a frame and it sits inside that frame.
The glyph grows and shrinks evenly with its box and stays in the middle, so resizing to a box that is not square never stretches it.
An icon's colour is its Fill row in the right-hand panel, so it can be bound to a colour variable, and an instance of a component can override it. To swap an icon, select it and pick another in the Icon picker in the panel. An icon you have not named is listed in the layers list by what it shows, such as "Search".
Add a picture
Drop a PNG, JPEG or WebP file from your desktop onto the canvas, or copy an image and press Ctrl/Cmd+V. A toast reads "Uploading image…", then the picture lands under the pointer, or in the middle of the screen if the pointer isn't over the canvas. Drop on a frame and it sits inside that frame.
A picture is a shape like a box: move it, resize it, and find it in the layers list. Each file can be up to 10 MB; a bigger one is refused with "That image is over 10 MB.", and another type with "Use a PNG, JPEG or WebP image." A drop takes the first 10 files and says "Only the first 10 images were added." You can add 120 pictures an hour; past that, a message says "Too many uploads. Try again in a few minutes."
Pictures are kept in your organisation's private storage. People who view the board through a share link see a placeholder instead of the picture.
Name things and edit text
- Double-click a box or a text label once for each frame it sits in to select it, then once more to type. A box straight on the canvas, or one you have just drawn, is already selected by the first click, so one double-click is enough. With T armed, a click starts typing at once.
- Type. In a box, press Enter to save, or Shift+Enter for a new line. Esc cancels, and clicking away saves.
- In a text, Enter is a new line. Press Esc, Ctrl/Cmd+Enter, or click away, to save.
While you edit a text, clicking another text moves the editor to it.
A text sizes itself by its Text resizing setting in the inspector:
- Auto width grows and shrinks with what you type, on as many lines as you start.
- Auto height keeps the width you set and wraps long lines, growing taller as needed.
- Fixed size keeps the box you drew whatever you type.
Drag a handle on the side of an Auto width text and it becomes Auto height, at the width you dragged to. Drag any other handle (a corner, the top or the bottom) and it becomes Fixed size. An Auto height text dragged by a side handle stays Auto height, and by any other handle becomes Fixed size.
Drop a Fixed size text into a flex frame and it hugs: Auto width if it fits on one line in the frame, otherwise Auto height at the width it has. Texts in an AI draft hug the same way.
A frame is named from the layers list instead: double-click its name there, type, and press Enter.
Pick a frame by its name
Each frame's name sits above it on the canvas and stays the same size at any zoom. Click the name to select the frame. It hides only when the frame is too small on screen to fit it, so zoom in or use the layers list.
With the Select tool, a thin outline appears around whatever a click would select as you move the pointer. It shows on the frame when you hover its name, and not on what is already selected.
Use the layers list
The left panel lists every shape on the board, with frames that open to show what is inside.
- Click a row to select that shape. Shift+click adds a shape to the selection, or takes it out again.
- Press ↑ and ↓ to move between rows, and Home or End to jump to the first or last.
- Press → or ← on a frame to open or close it.
If it doesn't work
- The key does nothing. Click an empty part of the canvas first. A text field that has focus keeps the keys.